 meet again on motomodder post..
In this post I will explain how to disassemble Motorola E1000 for cleaning or other purposes.
I decided to disassemble the phone because I bought from a guy from UK via Ebay and it was extremely dirty inside, looks like he wasn't caring about his phone at all! What a dumb guy :)
So here we are, step by step with instructions:

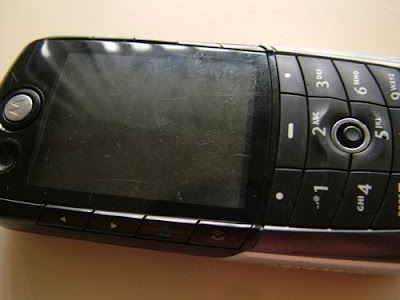
Motorola E1000 before procedure!

Hex screwdriver bought in Canadian Tire, made in China

Open battery compartament, remove battery and SIM card. Then unscrew 6 little screws - 2 at the to, 2 in the middle, 2 at the bottom!

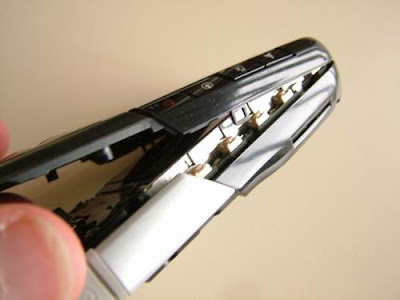
now is more interesting task, because it is getting trickier. We need to disconnect 2 parts of the phone case. For this better to use plastic card, I used fishing license card, better to user American Express dummy card, it is softer and thiner. Using plastic card will not damage phone case plastic.

moving card slowly around we eventually take 2 pieces of apart.

ready, lets remove upper and bottom case shell.

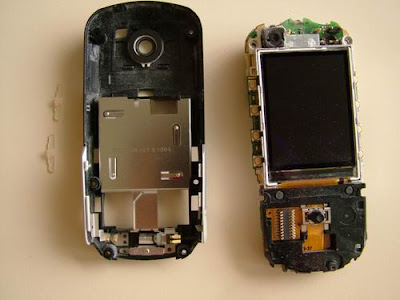
here we are, phone's internals

front part of the case has protective screen on it, keyboard. Also i has 4 rubber button for side buttons

Bottom part: contains screen, joystick, socket for connecting keyboard

Lets looks close, we see a lot of dust here...

Remove bottom case, separate system board and screen from bottom case shell

System board, we see micro SD slot, slot for SIM card

Side button are at system board

We see 2 antenna socket , I susspect one of them is UMTS another GSM. Here also is camera flash LED.

Vibro, very dirrty ;)

Inner camera and and socket for speake, Speaker still connected to the upper case shell.

Keyboard board is very dirty! Lets take it out of there and clean. Lets use flat screwdriver.

Removed, let's clean now

I have special microfiber cloth, which cleans extremely well!
Now screen is extremely clean

Everything looks much cleaner now. Now we can assemble everything back ;)

While putting parts back, please pay attention to these little parts! Don't forget the :)

Here is how little parts should be put in upper case shell
Further just simply attach 2 pieces of case (upper and bottom). Put all screws back. Put SIM card and battery.
that's all see you in next time on moto modding plan


